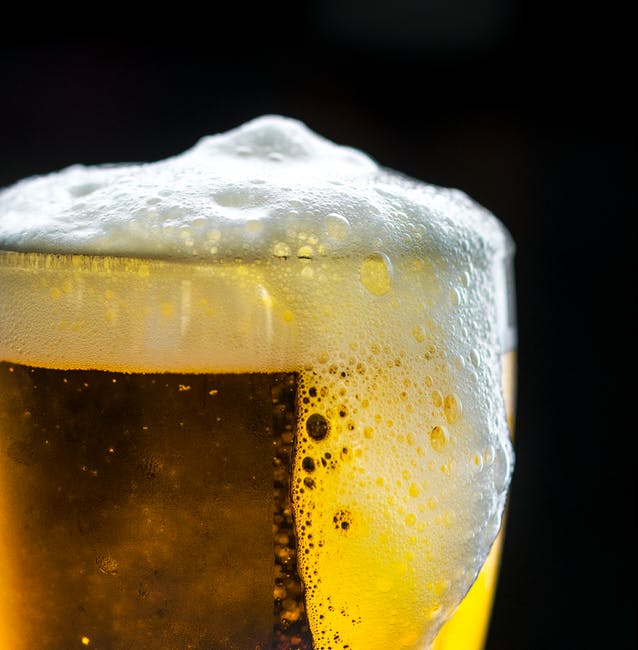
Americans like beer. We like it so much that, on average, we drank 20.44 gallons each. It’s no wonder that brewing your own beer is so popular.
Are you tired of drinking the same old domestic swill at your local? Make your own beer at home. Here’s how to brew your own beer.
How to Brew Your Own Beer
With a few items of specialized equipment and a homebrew kit, you can be brewing your own beer today. Within a few weeks, you can be drinking your own beer.
First Steps
Starting out on your home brewing adventure starts with assembling the equipment you need. You can purchase this brewing equipment item by item or buy a starter kit. This will include most of what you need but you may find that you change some items as you get more experienced.
You will need a kettle. It’s a false economy to buy a small one. A 5-gallon kettle may seem large enough but you will soon find that a larger 7.5-gallon kettle is more practical. It will allow you to work with larger quantities but also reduces the likelihood of boiling over.
Other essential equipment you will need include a fermenter and airlock. You will also need a sanitizer, auto-siphon and a stainless spoon. A funnel is an optional extra.
After you complete the brewing process you will need a hydrometer to measure the original and final gravity of your beer. A stock of bottles is needed to store and serve your beer and these will need caps. A bottle capper is needed to apply the caps to the bottles.
Once you have assembled this kit you are ready to select your brewing. You just need a brewing kit or if you want to be more authentic, the individual ingredients. As a novice, it’s easier to start with a brewing kit and then progress to selecting and working with individual ingredients if the brewing bug gets you.
Cleanliness
Before you start brewing it’s important to understand that the enemy of the home, craft and commercial brewer alike is contamination. All the best equipment in the world will not produce good beer if it is not properly sanitized. Great brewers are obsessed with cleanliness.
Clean your equipment. Make sure that anything that touches the beer after it is boiled must be sanitized. Use quality sanitizer and follow the instructions to the letter.
Brewing
Brewing starts with steeping the grains. Pour 2.5 gallons of water into your brew kettle. Steep the grains in the brew bag in this water for 20 minutes while you heat the water to 170 degrees.
Remove the grains and let the water drain from the bag. Don’t squeeze the bag. Squeezing the bag will result in tannins from the grain spoiling the taste of the beer.
As the water in the kettle reaches boiling point stop heating it. Add the malt extracts being careful not to let it boil over. Follow the instructions included in your home brewing kit for adding hops and heating your boil.
The recipe will determine the character and flavors of the final beer. Be careful to follow the recipe precisely at this stage. The result is sugar water or wort.
Cool the wort as quickly as you can. Placing the brew kettle into an ice-filled sink will achieve this very efficiently. Investing in a wort chiller will be better still and more convenient than filling a sink with ice.
First Fermenting
The next stage of making beer is the fermenting stage. This is when the magic ingredient of beer making is used. Yeast is a fungus that can live in an environment such as wort where it lives off sugars.
As it consumes the sugar it produces two important by-products that brewers make use of. It produces carbon dioxide which are tiny bubbles of gas. It also produces alcohol, a waste product for the yeast but a pleasant bonus for the brewer and beer drinker.
Place the cooled wort into a fermenter. Your kettle may have a valve for doing this. Add more water up to the 5-gallon mark.
Help oxygenate the wort by vigorously stirring it with a long-handled spoon. The yeast will work better if there is oxygen in the wort.
Use dried yeast for your first experiments in home brewing. There are alternatives but it is best to keep it simple as you learn to brew. Sanitize the yeast packet and the scissors you use to cut it open.
Add the yeast to the wort in the fermenter. Immediately seal the fermenter so that there cannot be any contamination. Add an airlock.
Place the fermenter in a cool, dark place where you can maintain a temperature of around 68 degrees. Within a very few days, fermentation will begin. Bubbles will begin to form in the airlock and pass through it as the yeast begins to turn sugar into alcohol.
Beware Explosions
A foamy head called krausen forms over the fermenting liquid at this stage of fermentation. As gas is produced and the fermentation becomes more active the krausen can clog up the airlock. If the pressure builds up further it can result in a high-pressure explosion.
Keeping the airlock free-flowing helps prevent this. Allow the gas to pass through the airlock and reduce the pressure. An explosion can be a messy business.
After one or two weeks the fermentation will end. The first signs of this are a slowing down in the rate of bubbles passing through the airlock. The cap of foam over the wort will also start to reduce.
Second Fermentation
A deposit of hop particles, dead yeast, and particles of grain will be sitting at the bottom of the fermenting liquid. This sediment is called trub. It can be useful in giving flavor to the beer but resting the beer on it for too long is detrimental to the flavor.
Siphoning or racking off the brew into another fermenter helps the brew condition and clear. More trub may form in this second fermenter and will need to be racked again. As always make sure all the equipment including the siphon, tubing, airlock, and stopper are fully sanitized or the brew will spoil.
Bottling
After cleaning all the equipment, bottling bucket, bottles, and caps you are ready to start bottling. Boil priming sugar in 16oz of water and let it cool. Put it into the bottling bucket.
Siphon the beer out of the secondary fermenter being careful to leave any trub or sediment in the fermenter. Fill each bottle to the top using a bottle filler and hose. Cap the bottles and store them for about two weeks.
Store bottled beer at room temperature. During this stage the beer carbonates naturally.
Your Reward
After chilling, your beer is ready to drink. Open the bottle, pour it into a glass leaving any yeast sediment in the bottom of the bottle. Now you know how to brew your own beer you can begin to enjoy drinking it.


