Lasers not only create intricate, detailed designs, but they are also extremely efficient allowing you to complete production runs in a lot less time. It’s easier than many other engraving methods and you can use it on most plastic, metals, alloys, and woods.
This allows you to provide a variety of products in a short time frame. But are you using your laser marking system as efficiently as possible?
Read on for tips on how to use a laser marker at its highest capacity.
Laser Marking for Beginners
Laser marking or engraving is not only fast and efficient, there are many other important facts you should know, especially if you’re now starting to use a laser marker.
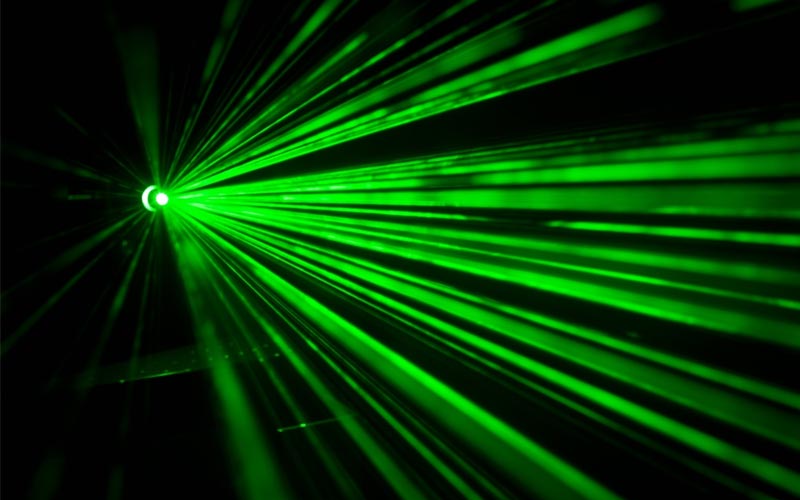
The Focus of the Laser Point of a Laser Marking Systems Is to a Fraction of a Millimeter
An optical system found in laser marking systems allows the beam to focus on a small area of an item. The laser point might be to a fraction of a millimetre depending on the wavelength used. It will only mark the area on the object that the laser point strikes. This is how it creates intricate designs.
Workpieces and Lasers Can Be Mobile or Stationary
This will depend on the type of laser marking system you have. It can either have a stationary laser with a moving workpiece or a moving laser with a stationary workpiece. The results will still be as accurate and detailed.
Laser Marking Only Heats Surfaces
Many people believe that lasers produce heat. However, they only produce heat on exposed surfaces. Heat is only generated when the laser makes contact with the surface of the object.
Some Lasers Require Ventilation
Ventilation systems in laser machines capture and filter gases and fumes that might be harmful or toxic. These are usually created when vaporization on the surface of an object occurs. The ventilation ensures a safe work environment by controlling these fumes.
5 Tips For More Efficient User of Your Laser Marking System
Laser marking is the process of using a laser beam to leave a deep, permanent mark on the surface of an object. The beam only focuses on the area to be engraved. Here are some tips for laser marking efficiency:
1. Engrave Multiple Items
Engraving multiple items will reduce your production time. If you have a project with the same design, you can print them all together. The amount you can engrave at one time will depend on the size of your table.
Be sure to match the full table size of your laser by increasing the page size in your graphic design program. You can fill your table with multiple pieces. Using tools to space out the pieces will help as well. This results in time savings of at least 37%.
2. Adjust Your Resolution
The higher the DPI or dots per inch, the longer the job will take. A high DPI means that the dots are closer together. You can use different dithering patterns to balance the lower resolution.
You can find the dithering feature in the print driver. It helps to hide the lower resolution by randomizing the DPI. It may initially take some tries to figure out the right combination of resolution and dithering pattern, but once you do, you’ll have a product that takes less time to produce but still looks good.
Using this technique increases your time savings by 33% or more.
3. Pre-Engrave Items
When you have a large order for a customized item, such as a nameplate with a standard design but a customized name, you can do multiple items with the standard design in one batch. However, there may also be individual orders if the items are extremely popular.
Pre-engraving may be a solution for these individual orders. You can pre-engrave the standard design on a batch of items and when the individual order comes in, you can place the pre-engraved item back into the machine and add the customized element, or in this case, the name.
This will take less time compared to printing the full design over again.
4. Use Color-Mapping
Color-mapping allows you to allocate different power settings and speeds to various parts of an image based on the colours being used. You can set a blue section to print faster than a red section.
When there’s a lot of white space you can use this technique to skip over it so that the laser only focuses on the coloured parts. This can give you time savings of up to 43%.
5. Center Engraving
Center engraving allows you to adjust the laser manually to the centre of the object. Once the centre is set as the home position, the laser will correctly place the image on the object. This eliminates the need to create a custom template for different-sized items that require centre engraving.
There are some laser systems such as the Micromark G3 which come equipped with a joystick that allows operators to quickly and easily position objects for laser marking. You can learn more about Micromark G3 here.
You can also use Job Manager to tailor your software as it allows you to locate and duplicate jobs faster.
Getting the Best Efficiency From Laser Markers
A laser marking system has many benefits including its ability to create high quality, precise markings on a range of materials without stripping away or destroying the material.
However one of its major benefits is the speed at which it can complete a job, especially jobs with multiple orders. It’s important that you know how to get the best use of your system. You can get additional tips on this and other technologies on our site.


